Last week after coming home from the Firehouse around 8am, I was trying to think of something to keep my 3 year old (almost 4, if you ask him) busy for the morning. Our options were limited because it was raining outside and there were no community centre programs scheduled for that day. I decided to take a page out of my wife’s book and do a craft with him.
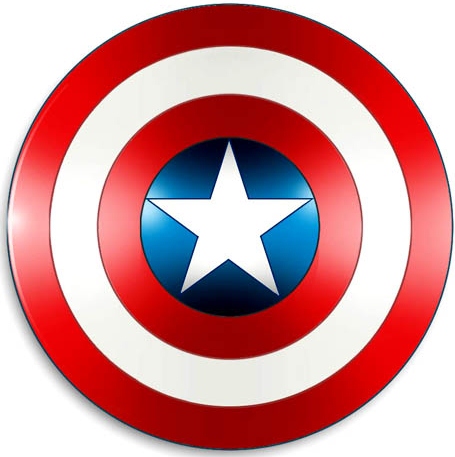
Like most boys his age, my son is big into super heroes right now. His favourites are the big names, Spider-Man, Iron man, Superman. He couldn’t care less about the rival of Marvel versus DC, he just likes the superpowers. While thinking of a craft related to super heroes, I was reminded of Captain America. When I asked him if he liked the Red, White and Blue hero, he got super excited. It was basically decided then and there that we would do a Captain America craft. What better project than to do a Shield.
We would have to make a trip to our local Dollarama to pick up some supplies first. Thankfully my son loves going to the Dollar Store and completing another “mission”.
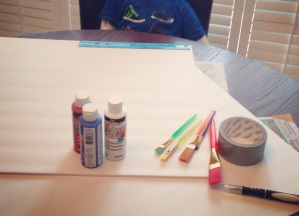
Supplies
- Two large White Foam boards
- Red and Blue Art paint
- Paint brushes
- Ruler (with holes)
- Exacto knife
- White Glue
- Duct tape (for the handles)
The total bill for these supplies was under $10
Step 1
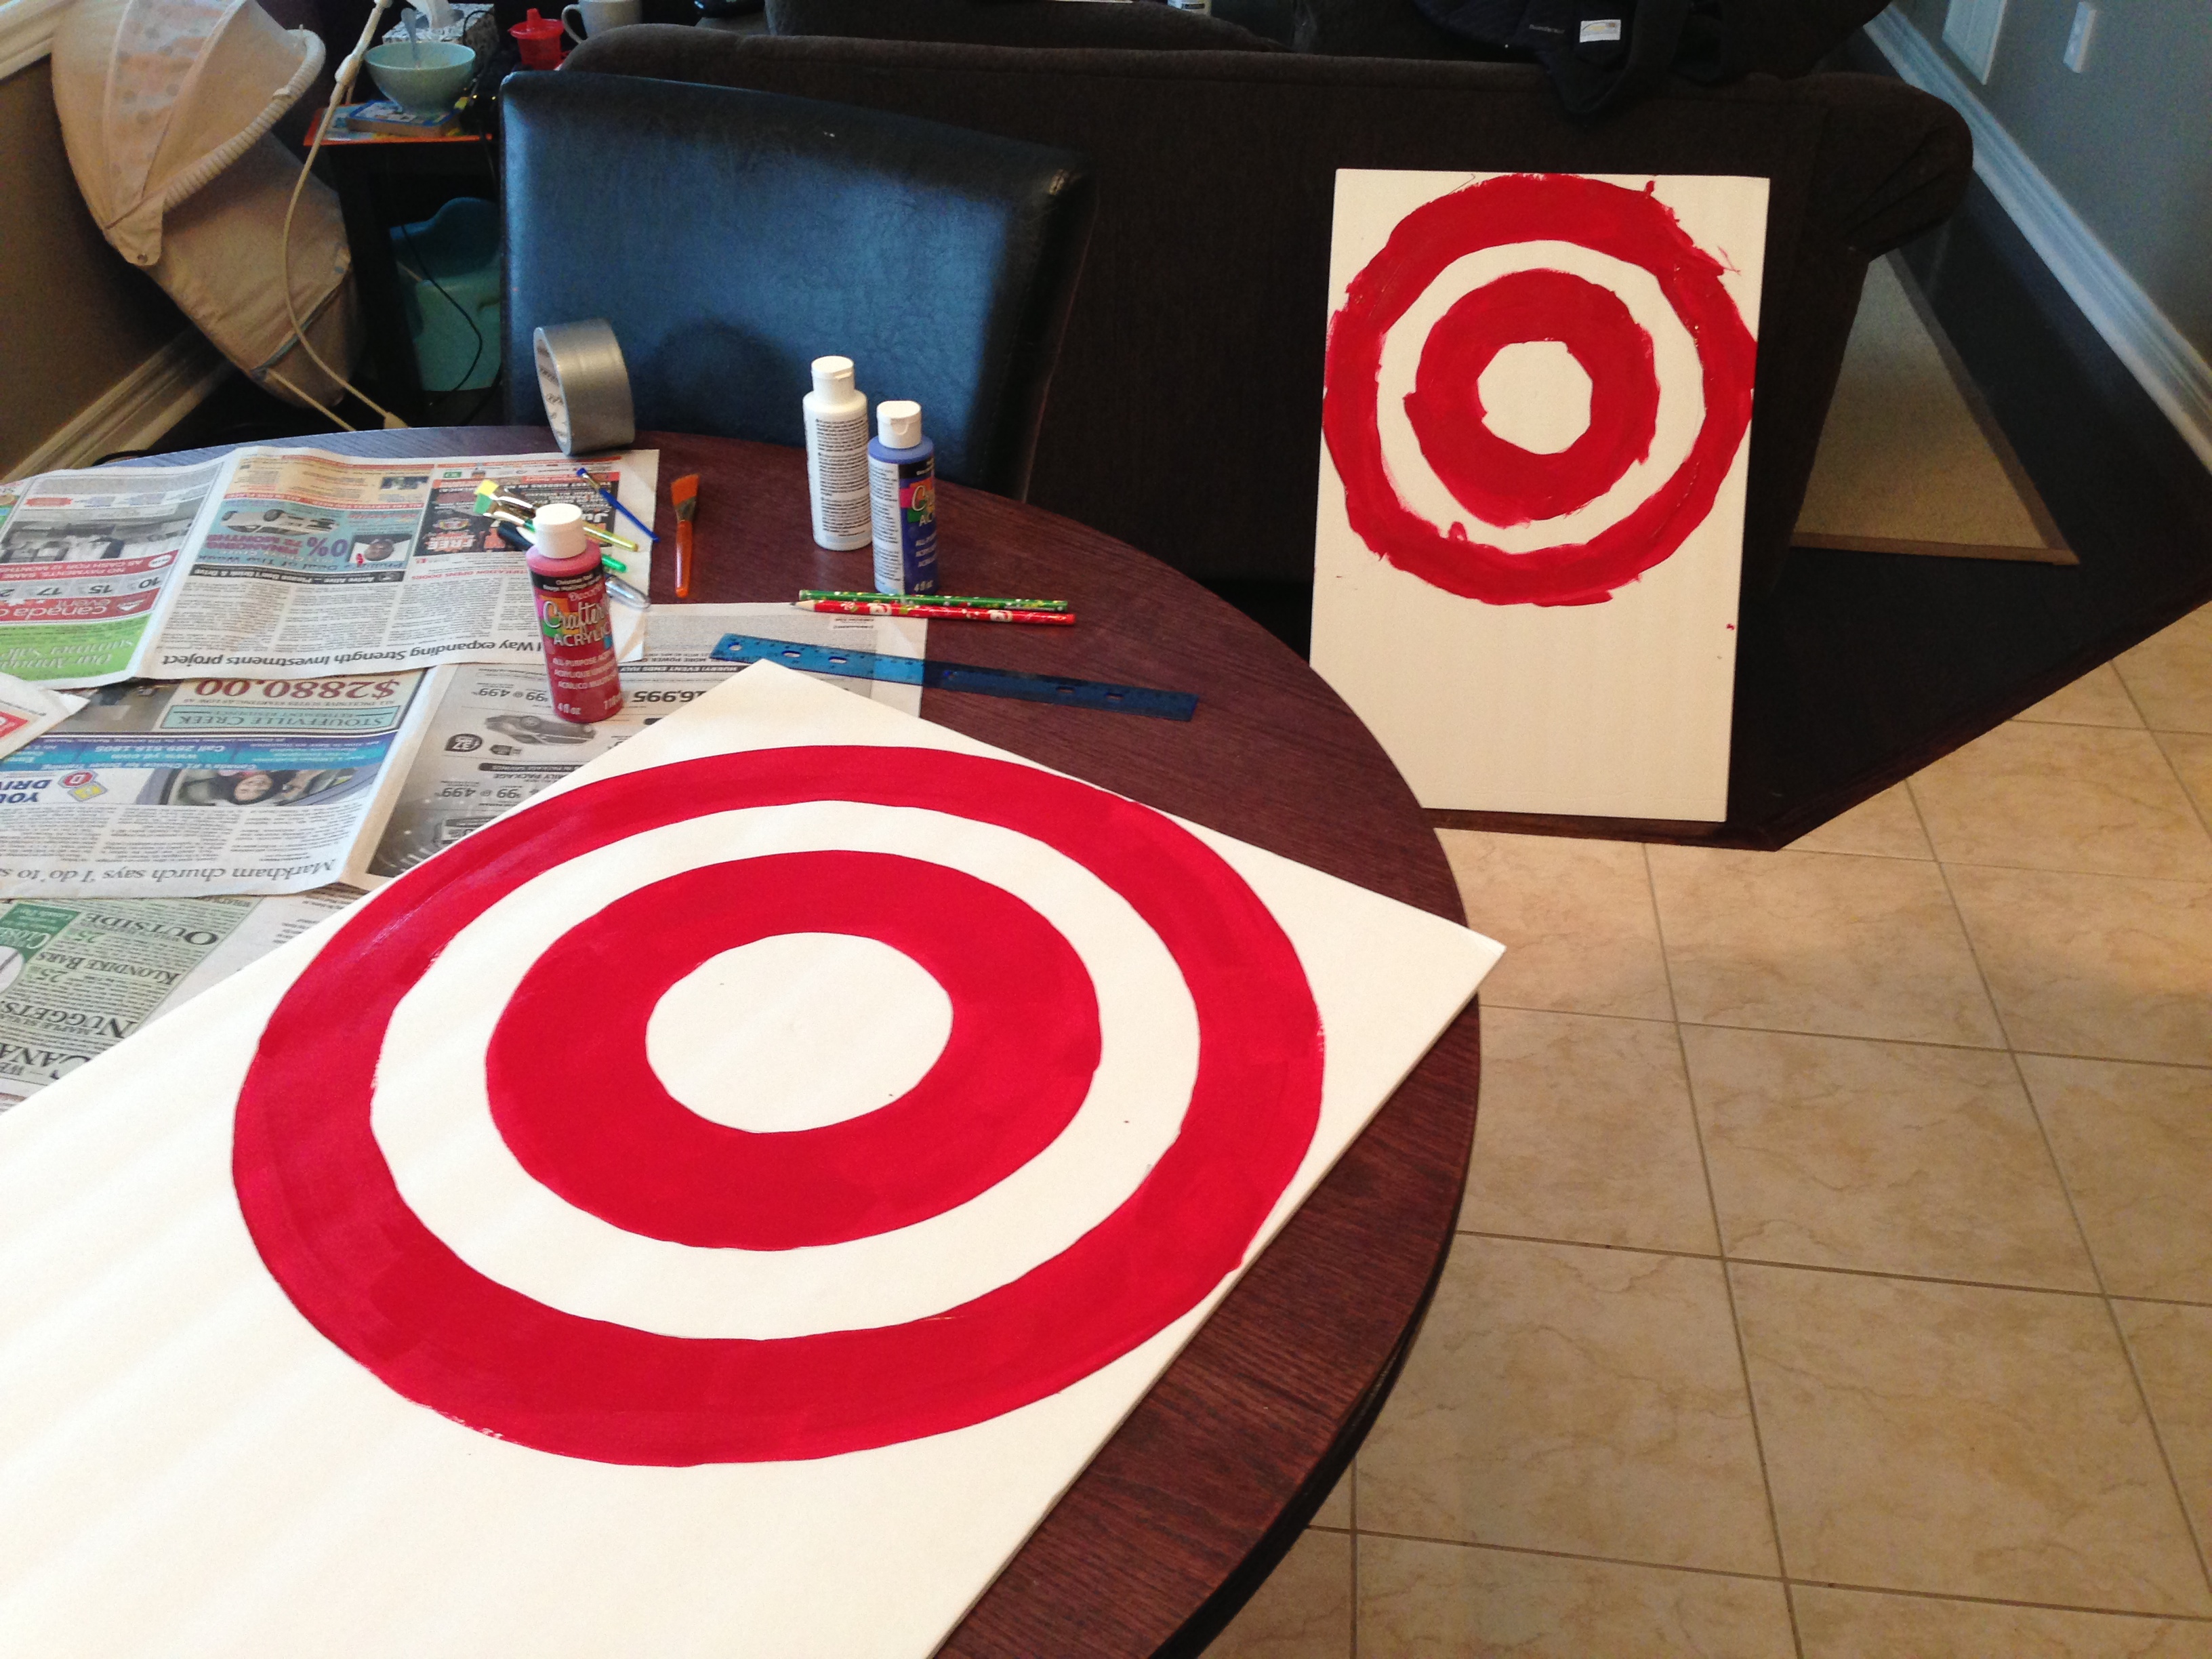
Use the ruler with holes in it, to draw your circles. Use the eraser end of a pencil to hold the ruler in place at one end. Use another pencil and insert it into the hole at the other end. Now rotate the end around in a complete circle, ensuring the eraser end never moves. This is an easy way to achieve a perfect circle. Next move the pencil closer to the eraser end to draw a smaller circle, and so on. You will need 4 circles in total.

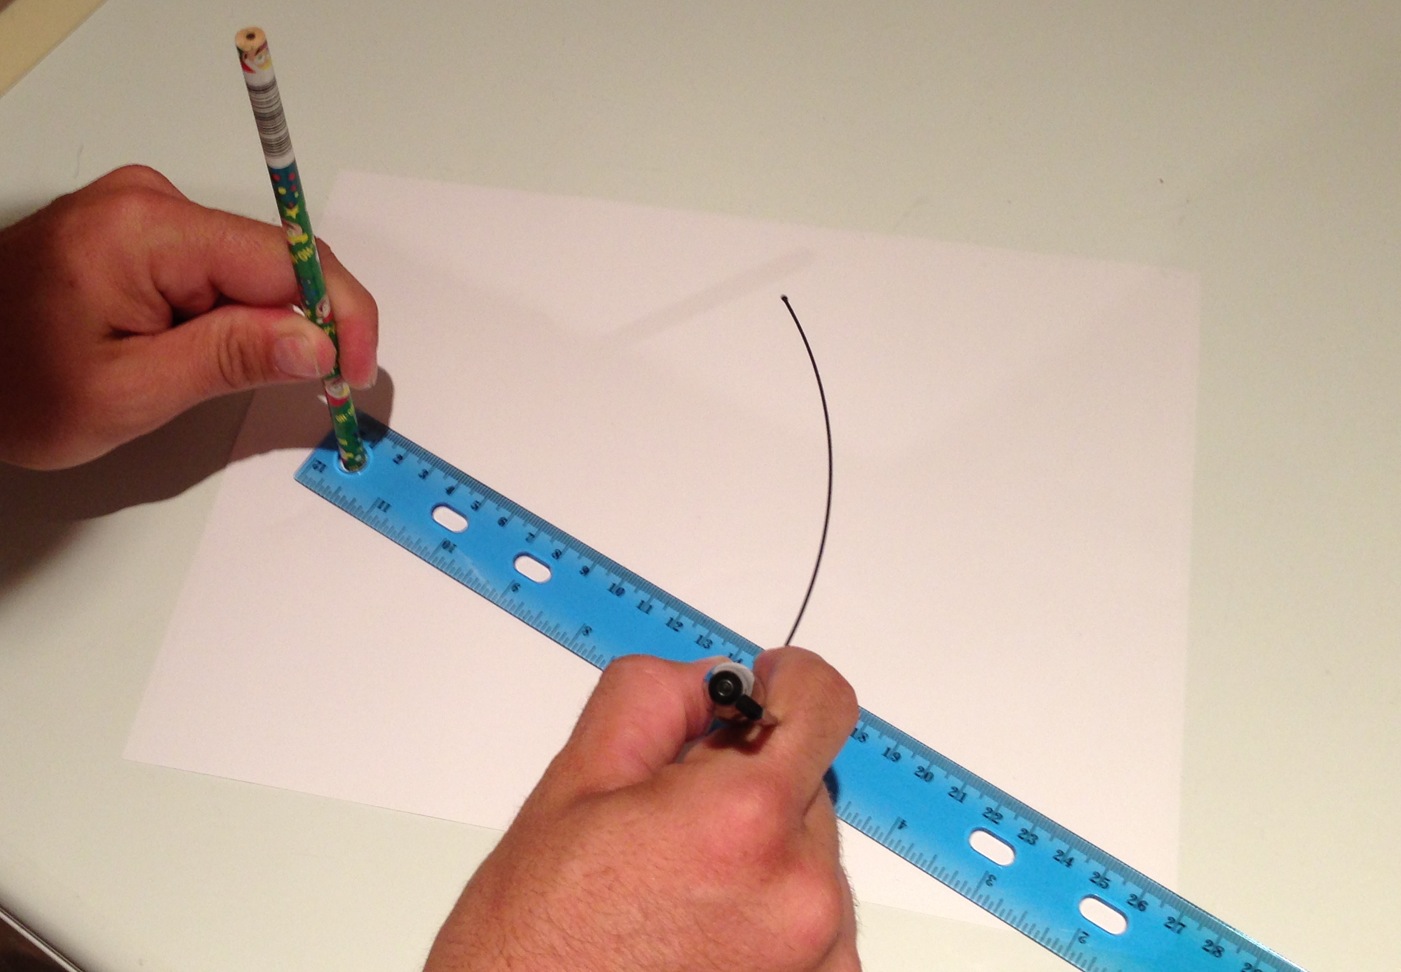
Tip: Don’t use the whole board; leave some space to use for the star later on.
Step 2
I made my life easier by buying paint with a clean squeezable cap. Then I squeezed a line of red and had my boy spread it around with his brush. This is where I had to let my OCD take a back seat and just let him do his thing. When they go over the lines, it’s ok. It looks cuter the messier it is. I also made a shield along with him for two reasons. Firstly, he can follow my example and secondly, it makes playtime more fun with two.
After painting the red stripes, put away the red and paint the middle circle blue (I can’t handle when two colours are out at the same time). Don’t worry about the star just yet, paint the entire center blue.
Tip: Cover your kid in his or her painting smock, garbage bag or just have them go shirtless because it tends to get messy when the paints come out.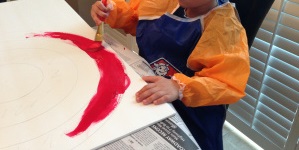
Step 3
Now it’s time to work on the star. Personally I have difficulty drawing a perfect star, so I deferred to mom for help. She went “Old Skool” and drew one like the picture below. Then I cut that one out and used it as a template to draw two clean stars and cut them out.
Tip: Place your shields in front of a small fan to allow the paint to dry while you work on the star.


Step 4
ALMOST THERE! You just need to glue your star right in the center and trim the shield out. Once you’ve done that you can place a book or something of a similar weight on top of the star to allow the glue to dry while you work on the handles.
Step 5
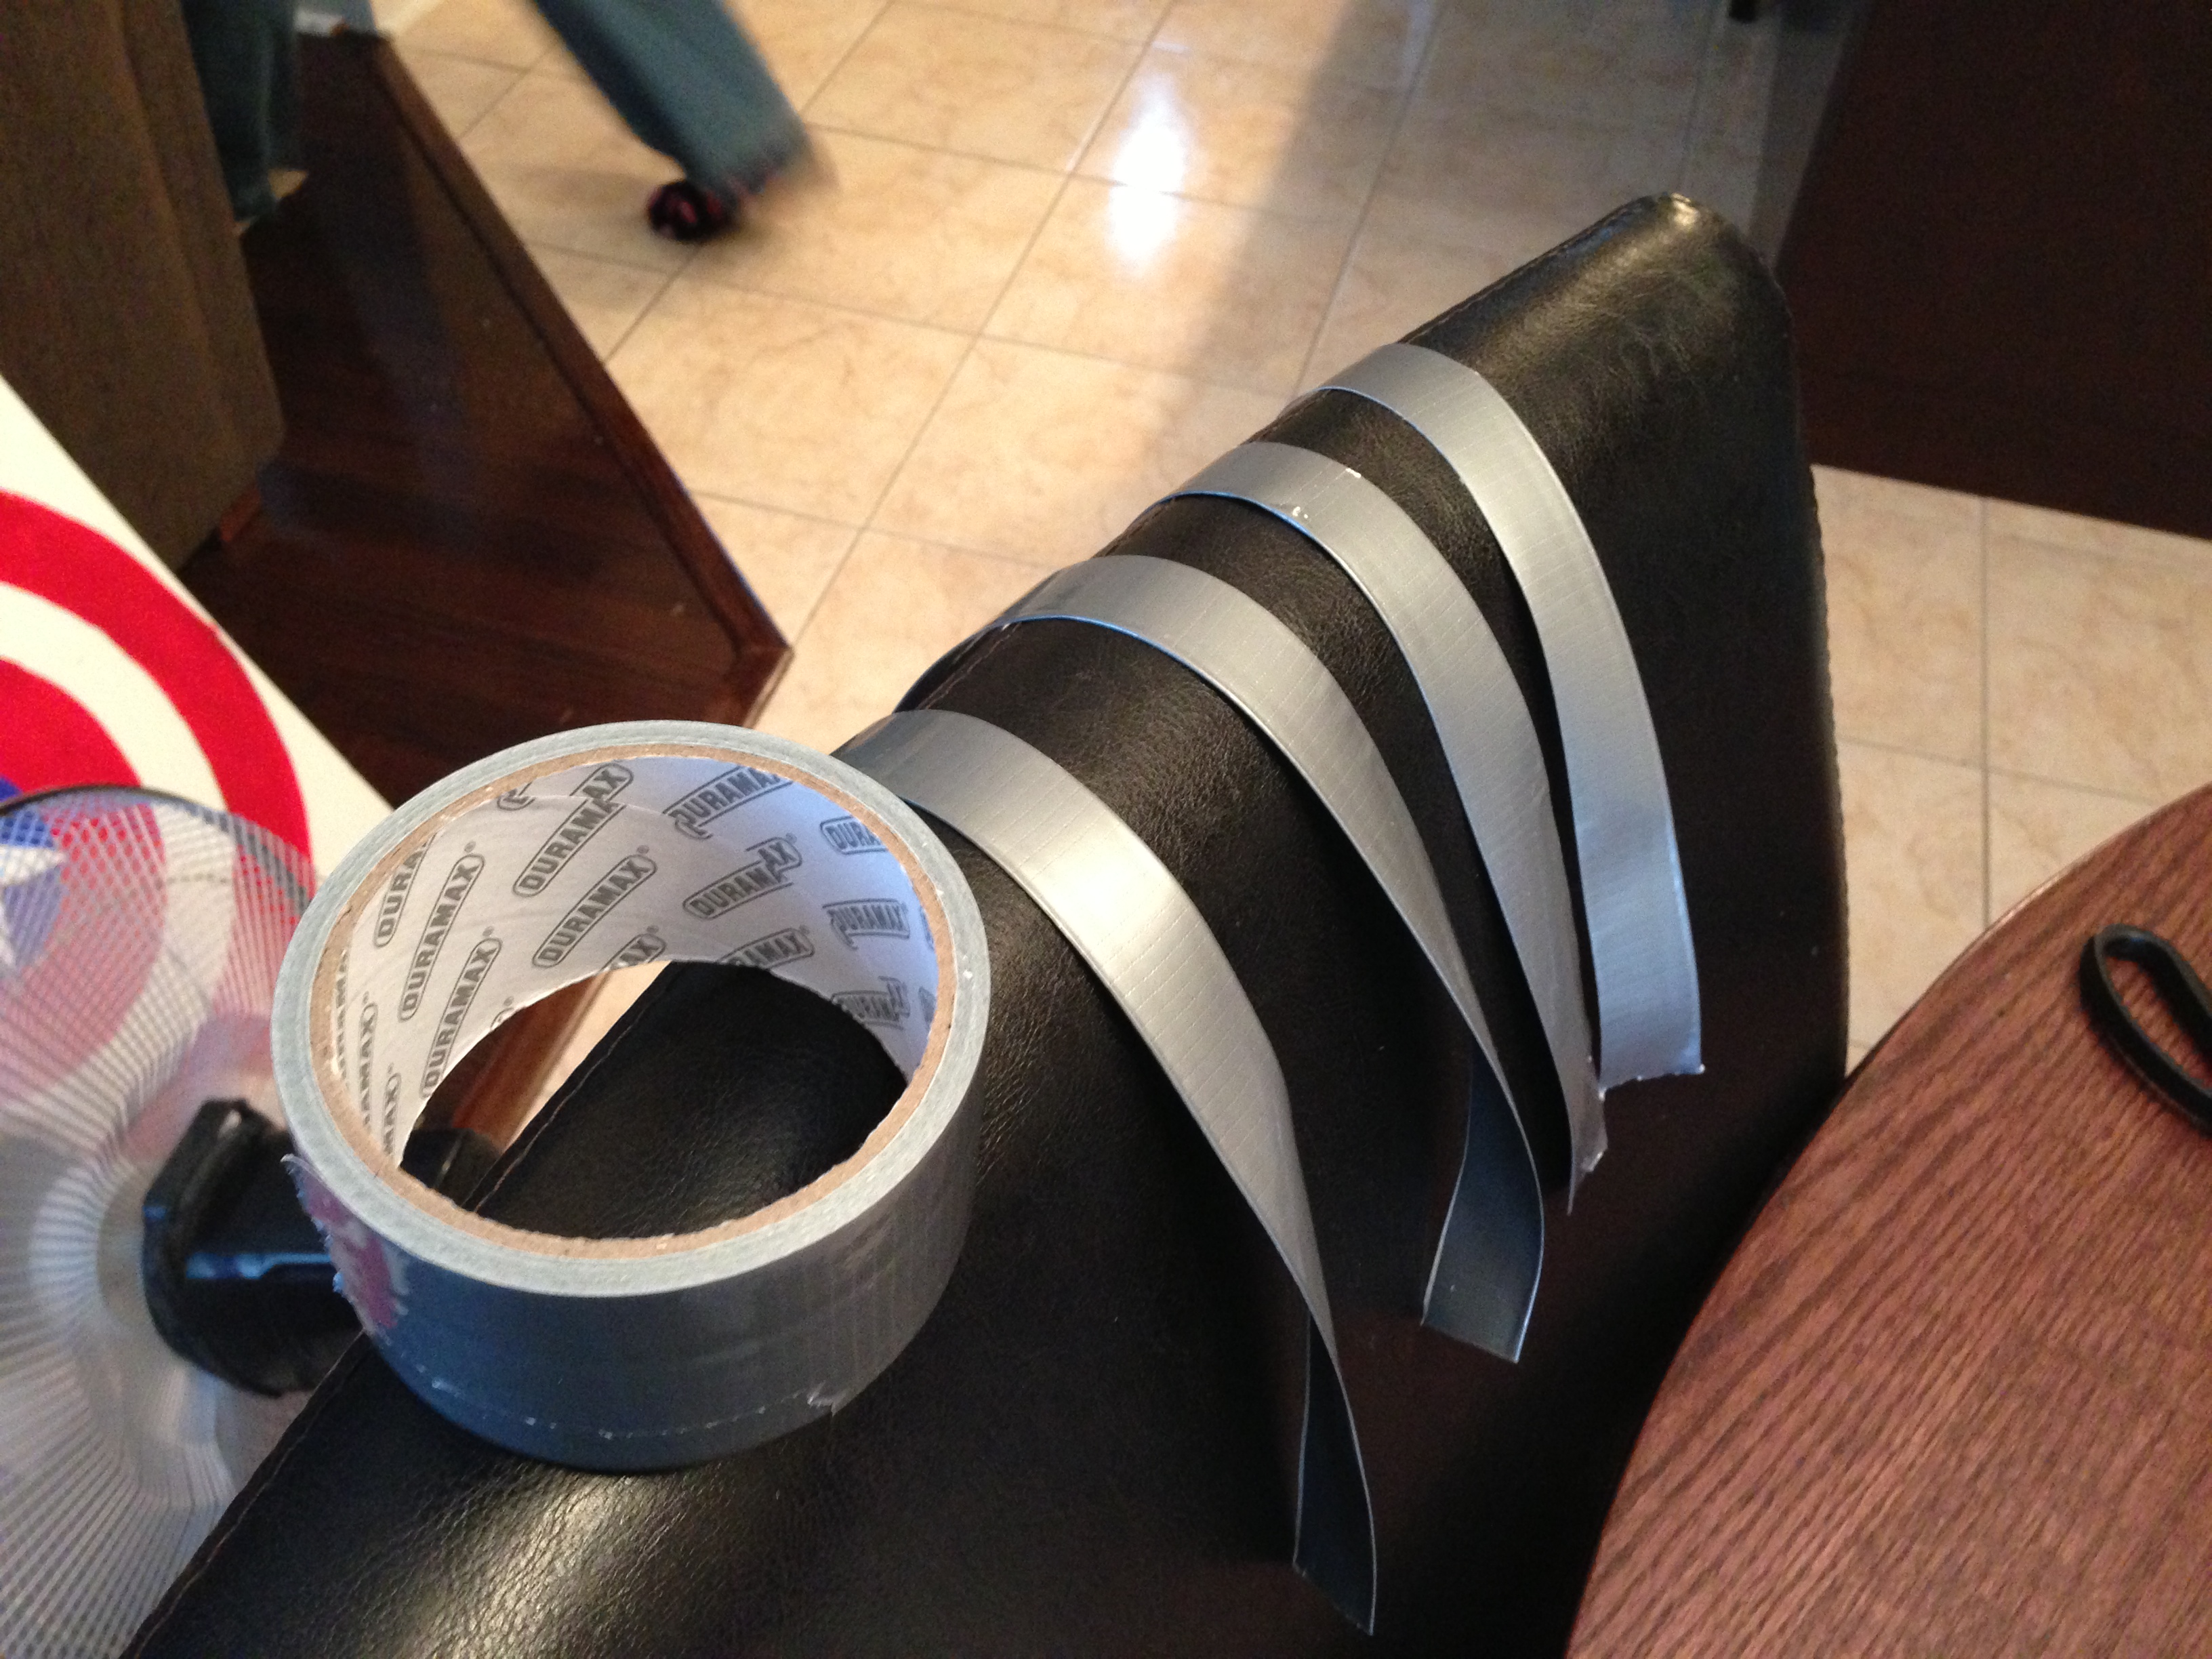
It’s time to create some handles. Now, every self-respecting dad should have some duct tape in the house. If not, slap yourself and buy some in bulk. If it can’t be fixed with Duct tape (or WD-40), just save yourself the effort and throw it out, because it can’t be fixed (but that’s another blog).
Now take strips of the tape and fold it in half (Length wise) to hid the adhesive side. Then tape the strips to the back of the shield (Use your kids arm as a sizing guide for best results). You’ll need two strips per shield (One for their little hands to grip and one to wrap around their forearm.)

Step 6
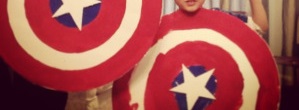
Have fun and be prepared for them to throw the shield at you. If you’re not familiar with Captain America, don’t be concerned, this is what he does.
When it was all done, this was by far our most successful craft. It was fun, easy, inexpensive, and not messy at all. My boy loved it, and for me, it felt manlier than finger painting.

Until next time
Keep your head up and Your Nuts Covered
DUF
